
How to Roll a Blunt: A Step-by-Step Guide for a Perfect Smoke
Rolling a blunt is an art that combines patience, technique, and quality ingredients to create a slow-burning, flavorful smoke. Whether you're new to the scene or looking to refine your skills, this guide covers everything from selecting the right wrap to sealing your blunt for the perfect session.

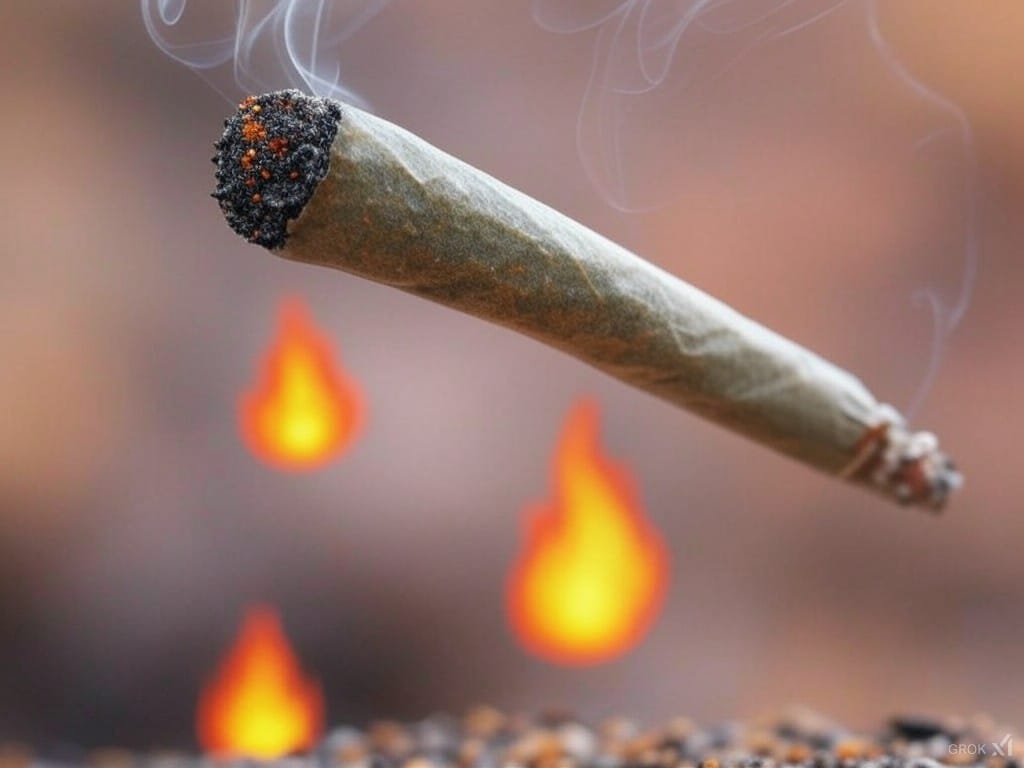
Rolling a blunt is an art form that takes a little practice, but once you get it down, you’ll enjoy a slow-burning, flavorful smoke that beats most pre-rolls. Whether you’re using a tobacco wrap, a cigarillo, or a natural leaf, the key to rolling a perfect blunt is patience, technique, and quality ingredients.
In this guide, we’ll cover:
✅ What you need to roll a blunt
✅ A step-by-step rolling process
✅ Pro tips for a better smoking experience
🔥 What You Need to Roll a Blunt
Before you start, make sure you have everything ready:
1️⃣ Blunt Wrap or Cigarillo
- You can use a Dutch Master, Backwood, Swisher Sweet, Game Leaf, or any blunt wrap.
- For easier rolling, try a pre-cut blunt wrap instead of cracking open a cigar.
2️⃣ High-Quality Flower
- Use about 1 to 1.5 grams of well-ground flower.
- Make sure it’s not too fine (prevents clogs) or too chunky (prevents even burning).
3️⃣ Grinder (Optional but Recommended)
- Grinding ensures an even burn and a smooth pull.
- If you don’t have a grinder, break it up by hand, removing stems and seeds.
4️⃣ Lighter
- You’ll need this to seal the blunt and light it up.
5️⃣ Razor Blade or Fingertips (If Using a Cigarillo)
- Used to split the cigar lengthwise and remove the tobacco inside.
🌀 How to Roll a Blunt (Step-by-Step Guide)
🔪 Step 1: Split & Empty the Cigar
- If you’re using a cigarillo (like a Swisher or Dutch Master), you’ll need to cut or split it open.
- Use a razor blade, a knife, or your fingers to gently split it lengthwise.
- Carefully dump out the tobacco (guts) without tearing the wrap.
💦 Step 2: Moisten the Wrap
- Lightly lick or dampen the blunt wrap to make it more flexible.
- This helps prevent cracks and makes rolling easier.
- If the wrap is too dry, breathe on it or use a tiny bit of warm water.
🌿 Step 3: Fill It With Flower
- Spread your ground herb evenly inside the wrap.
- Don’t overstuff it—this makes it hard to roll and seal.
- Use 1-1.5 grams for a standard blunt, but you can adjust as needed.
🌀 Step 4: Shape & Roll the Blunt
- Use your thumbs and index fingers to shape the blunt into a cylinder.
- Start rolling the bottom edge over the flower, tucking it under the top edge.
- Tuck and roll tightly but not too tight—airflow is important!
💨 Step 5: Seal the Blunt
- Once it’s rolled, lick the inside edge of the wrap and press it down gently to seal.
- If the wrap is stubborn, use a tiny bit of honey or sugar water as "blunt glue."
🔥 Step 6: Dry & Light It Up
- Run a lighter quickly along the seam (don’t burn it!) to dry and harden the seal.
- Light the tip, take slow pulls, and enjoy a smooth, even burn.
🚀 Pro Tips for Rolling the Perfect Blunt
✅ Use Fresh Wraps – Old wraps crack easily. Store extras in a sealed bag.
✅ Grind Evenly – Helps prevent canoeing (uneven burning).
✅ Don’t Overstuff – Too much flower makes it hard to roll and pull.
✅ Tuck & Roll Tight – But not too tight! Airflow matters.
✅ Let It Dry – A quick pass with a lighter helps seal the blunt properly.
💭 Final Thoughts: Rolling a Blunt Like a Pro
Rolling a blunt is a skill worth mastering. Whether you’re chilling solo or passing it in a session, a well-rolled blunt burns slow, smooth, and evenly. Follow these steps, practice, and soon you’ll be rolling like a pro.
🔥 Now grab your wrap, roll up, and enjoy the smoke! 🚀